Wednesday, June 9, 2010

The Happiest Babies of Year 2010

0 comments
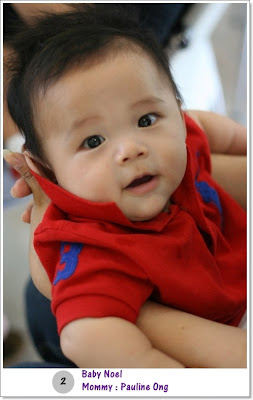
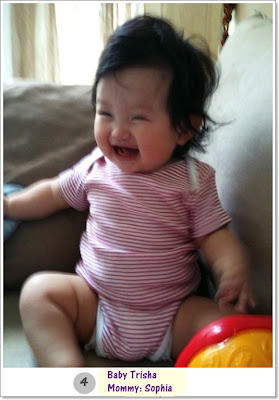
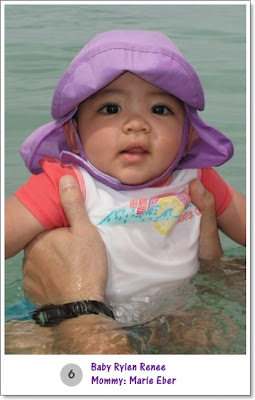
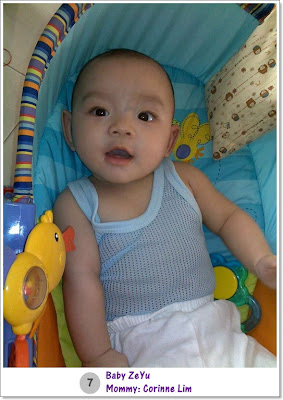
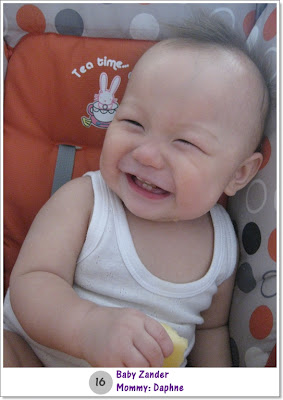
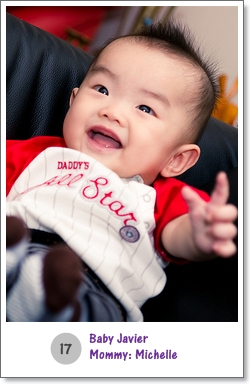
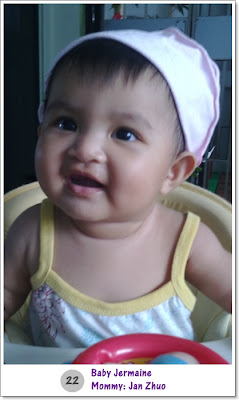
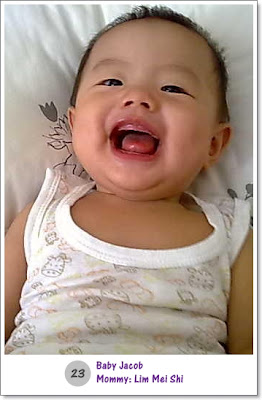
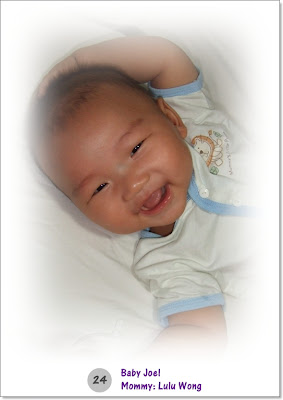
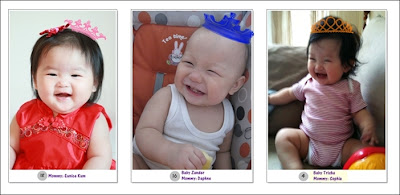
Finally, we have finalized our 3 winners for our Happiest Babies Contest.


Congratulations! All the winners' mummies will be notified by email soon.

Tuesday, May 18, 2010

Happiest Baby Contestants

0 comments
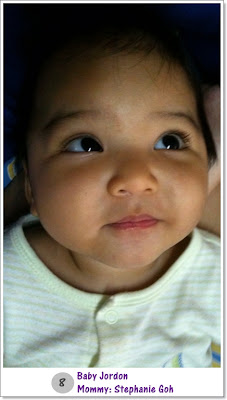
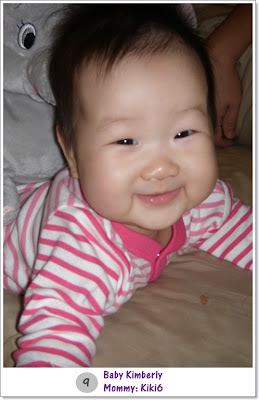
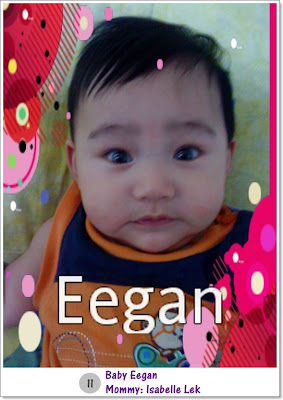
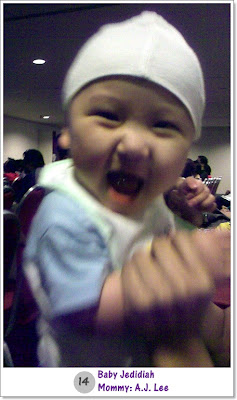
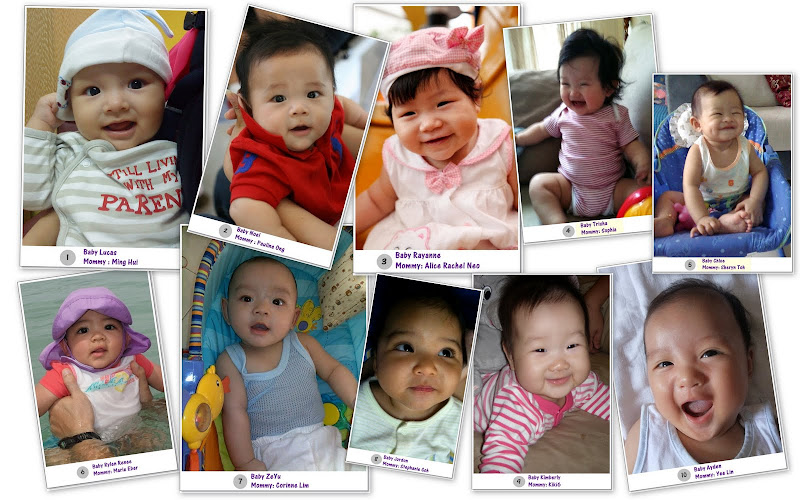
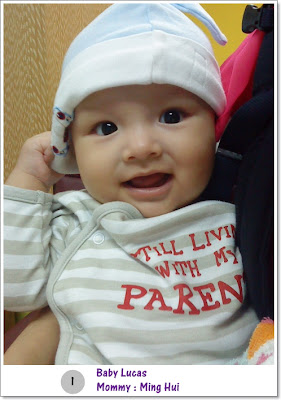
Finally, I have spent some time to do editing on the photos submitted by mommies. I have to apologize because there are actually more than 10 contestants but I am only able to come out with the first 10 who I randomly selected.

Please give me some time to do the editing and come out with all the photos submitted.

Here are the first 10 randomly selected happy babies:


** Just added another 13 contestants' photo today.


These all the consolidated first 10 contestants for the contest:


The result for the winners will be announce early June. Stay tuned!

Saturday, May 8, 2010

A Pure Friendship

0 comments
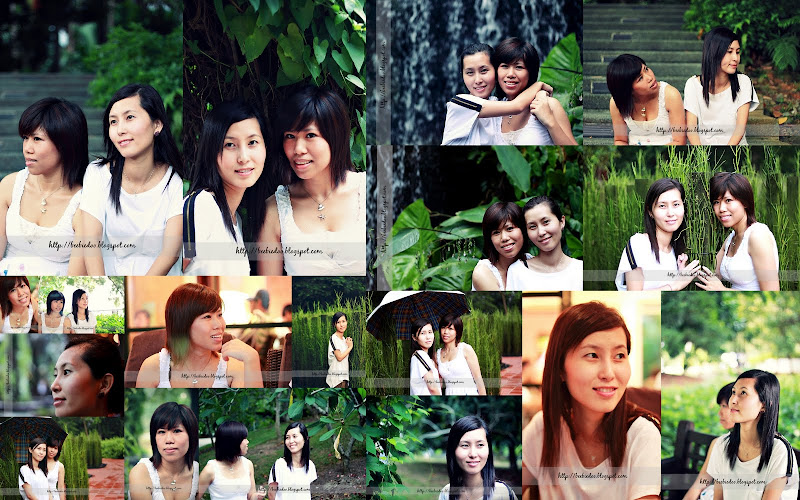
Hubby was helping his colleagues to take friendship photos at Botanical Garden while we were busy taking care of the two lil monsters at home. These are some of the photos taken:


The combination of the natural greens and their white dresses make them stand out from the background and perhaps the white colours simply means their pure friendship.


Personally, I love this shot a lot. The ambience gives me a very good feeling of their true friendship.

More shots here:


Edited images in collage format:


All images here are copyright of beebiedoo photography and please do not download and reuse in any forms without permission granted.

Tuesday, April 27, 2010

Happiest Baby Contest

0 comments
We are planning to start our freelance photography soon and our target market will be kids or babies. We simply find that kids/babies are the hardest to shoot but it is just too challenging. What I love most are their expressions which revealing the true emotions of these little souls.

Thus, we are giving away 3 free sessions for the Happiest Baby Competition. For those who like our photography style, you may participate in the competition to win an absolutely free photoshoot session. What you need to do is to submit your babies photos which are showing their happiest moments.


Steps to participate in Happiest Baby competition:

1. Take your recent baby photos you think fit the theme
2. Send an email with subject Happiest Baby Competition to lyepohkhim@hotmail.com
3. Wait for our final result to be announced on early June.

Closing Date: 23 May 2010


What is inside each photography pacakge?

  • 1 hour photography session for baby.

  • 10 retouch non high resolution (able to develop into 4R size) photos returned in CD

  • 10% off for next photography session.

  • Date and venue of photography session will be decide later agreeable by both parties.

Cedric's Photoshoot Session

0 comments
We showered Cedric and immediately setup the photography background. This is a quick session that took about 20-25 minutes. We bought the blanket from Ikea which I guess can be used as nice backdrop for newborn shooting. Just wanted to give it a try to see how easy to make use of this blanket for photography session. A lot of photos are not presentable because we were like "kelam kabut" while taking Cedric's photos. At 7.5 month old, he can now crawl quite fast forward and no more "go-stand". So, he kept flipping up and as her mom i was attempting to stop him from doing so and trying to get his attention. Sweats a lot during the session and I really think it is not easy. I regretted that I didnt take his naked photo when he was a newborn.

Let's share some photos that appear quite okie here:


Cedric was not looking at camera but I find the background is quite nice. What a waste!

LEFT: Frank caught this at the right moment but just that Cedric was drooling. Can see his saliva at his chin.
RIGHT: Cedric was smiling and I think this pose is the best among all those photos we've taken.

LEFT: Cedric was not looking at the camera. He was quite curious why the blanket feel so different and staring at it.
RIGHT: I was trying to attract his attention by showing him his favourite Ru Yi You container.


Saturday, March 20, 2010

DIY Photo Frame v1.2

0 comments
This is the finalized version of the DIY photo frame. Just upload to let ppl see the outcome of the v1.2.

Front view of photo frame:


Side view of v1.2:


In this version, I added 2 transparent plastics bag to hold the picture. One at the front and the other one at the back. Notice that my hole puncher is unable to punch holes on plastic and so, I addeda laminated pouch to make the holes and seems like that is the only way to make a clear hole on plastic when it is punched together with hard plastic.

Finally, it is time to deliver to the owner's house. :-P

Monday, March 15, 2010

My Lovely Gal - Valencia

0 comments
Yesterday, I was on leave to take care of my lil girl due to childcare centre closure. Hubby suggested to bring Valencia go downstair for a walk and I was thinking why not make use of the time to take some photos for her.

I showered her first and changed her into the lovely pink colored dress that I bought for her during CNY. I took my stretchy lace bought from Spotlight and make a temporary headband for her and surprisingly, she didnt refused to wear the lacy headband. She seems to love the headband so much.

Brought along with us her little umbrella. Below are some of the photos we took on the day.

Smile happily:

Looking at the purple flowers:
Playing with the Winnie the Pooh umbrella. Pose for camera:
Waiting for daddy:

More photos to upload soon. Stay tune!

Sunday, March 14, 2010

DIY Photo Frame v1.0 & v1.1

0 comments
Went to Spotlight at Plaza Singapura on saturday. I haven't been there for quite some time. I used to work around that area when I was still an assistant lecturer at a private school and it wasn't a good experience working there.

Bought some DIY and handcraft materials from Spotlight because I am Spotlight VIP and will get 20% off storewide till sunday. Somehow spent quite a bit for the materials. Some were quite cheap and there are so much choices of ribbons and also the velcro tapes. I was quite regret that I reached there when I only have 45 minutes to shop. The laces sold there are plentiful and I have no idea which to choose. Just too many things to shop in such a little time.

After bought the materials, the idea of making a DIY photo frame came to my mind but somehow I got some defects made to v1.0. These comprise of:


  1. I didnt glue the lace and ribbon nicely because the fabric glue took quite some time to stay.

  2. Initially, I wanted to make the photo frame that is able to change the photo whenever I want to but somehow this come to my mind only after I laminated and cut the frame.

  3. These photo frame doesnt come with a stand which I still haven't got any idea/inspirtation of how to make the stand.

  4. The foam sticker was not the matching color for the photo frame.

Took some photos for the photo frame v1.0 that I have done:


Photo frame v1.0 :


Detachable decorative flower:

The detachable flower sew by me. Simple but lovely to my eyes. There is a velcro button behind the flower which will be attachable/detachable to the photo frame. Want ed to add some laces to the flower but the one that I currently have is not suitable to use for this purpose. I think at least 3 layers will look nicer. Will improve on this area next time.

Velcro button :

The other side of the velcro button on the photo frame that I mentioned previously. This will be good if you want to change the decorative flowers in future.


Shots on final outcome:

Taking the photo frame v1.0 from different angles.


Personally, I love the handsew decorative flower most but it is not good enough as this is the first time I did sewing after so many years. I guess more than 10 years. Haha...


Materials:


Scrapbooking papers, ribbons, buttons, decorative jewelry seal, needle, threads, laminating machine, laminating pouch, glues (fabric, UHU), lace, foam sticker, cutting mat, cutter, ruler and etc.


What do you think? Nice? I think there are a lot of area that I can improve on and this will appear on my v1.1.


Made some improvement on existing v1.0 and therefore is now called v1.1:


I have added book rings so the the frame can go backwards and have another photo at the back. Also have a stand for the photo frame so that I can stand well on the desk.


Have been lacking of sleep recently, just make a quick update by uploading a few photos:


Learn to do the five petals flower from online tutorial and it appears quite satisfactory to my eyes. Yeah...I know the stand is not obvious but somehow I just feel too tired to upload more photos.

The only issues with the photo frame making is I am lacking lots of material and that's the reason why the frame looks dull. From the stack of ribbon behind the photo frame you already can know that I have limited materials. Can someone tell me to get more nice and cheap ribbons and also colorful buttons?


BeebieDoo's Photography Copyright 2008 All Rights Reserved Baby Blog Designed by Ipiet | All Image Presented by Tadpole's Notez